Hi Lovelies! I recently helped plan a baby shower for my lovely and very pregnant bestfriend, Nicole. She wanted a French country themes baby shower. So one of the design elements I used were some adorable Teacup candles. I originally saw this DIY at The Blushing Bride and thought I would try it out and share with you! It was a great success and the candles looked perfect!
To start you'll need a few things:
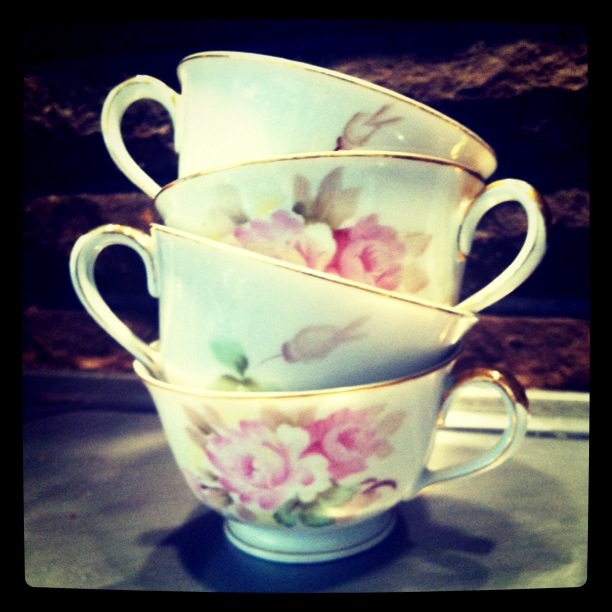
Teacups (You can find these at thrift stores)
Soy Wax flakes (specific for containers)
Wooden Kebab skewer sticks
Tape
2 pots for melting the wax
Fragrance (candles are always better if they smell nice too!)
3 1/2 inch candle wicks
Candle dye (for coloring)
1. Take two kebab skewers and tape them together on one end. Slide a candle wick in between the skewers so that it fits snugly between the kebabs. Lay the kebab and wick on the teacup so that the wick sits in the middle of the cup. For additional support, tape down the kebab to the side of the teacup to ensure the wick will not move when you pour the wax.
2. Now that your teacups are prepped, you will need to melt your wax flakes. Depending on what type of wax you buy, you can either use the microwave or stove to melt the wax. I prefer to use the stove so that I can control the temperature (making sure it doesn't get too hot) and color of the wax. If you decide to use the stove, make sure to use two pots. Fill the bottom pot half full with water. Let the water come to a boil, then place the second pot with the wax flakes into the boiling pot.
 |
| Melt the wax over boiling water |
3. Once the wax is totally melted in the pot, you can add coloring and fragrance. A little goes a long way with both the dye and fragrance. Add the dye slowly and make sure it is completely melted and mixed with the wax. I wanted my candles to have a pale pink hue so I used very little dye. It's hard to guess the color of your wax while the wax is still wet so I suggest dipping a spoon in the wax and letting a few drops fall onto wax paper. Let the drops dry. Those drops should give you a general idea of what your candle color will look like.
 |
| Melted wax |
 |
| Red dye to be added to the wax once melted |
4. Now it's time to pour! This is easy as long as you're deliberate. Pour the wax into your prepped teacups making sure not to spill any wax on the outside of the cups. I suggest aiming for the center of the cups while pouring so that you don't get any way on the sides.
 |
| Candles after wax poured |
5. Voila! Sit back and relax awhile! Let the candles dry for about a day to make sure they are completely solidified. Do not touch or move the candles while drying! This can cause the wax to lose its shape.
 |
| A teacup and welcome sign greeted party-goers at the shower. |